Satellite GPS
SolarOne Satellite Tracker
A Solar GPS is mounted on top of the pole buoy (atop the GPS mount). It has a magnet taped to the top. Keep the magnet on whenever the GPS is not in use or is stored (not in view of the sky); the magnet can fall off easily, please tape in place. Only remove the magnet for testing or when the buoy is outside and in view of the sky (satellites). When the magnet is removed, be sure to store it in a SAFE spot! The GPS is labeled (sticker on top with ID#)
Lonestar SolarOne GPS
- Attach Solar GPS to GPS mount on top of pole buoy using zip ties Either keep the magnet taped ON, or keep the GPS outside and in view of the sun so that it can recharge.
- Test GPS using Lonestar Tracking https://fleetone.lonestartracking.com/new/
- Log GPS ID to Deployment Details tab
SPOT Satellite Tracker
The SPOTs are satellite tracking devices that use the Globalstar network (suitable for the California Current). To extend tracking life, we modify these to use two D cell lithium batteries housed in a custom ABS cylinder housing that needs a light vacuum to minimize condensation.
The SPOTs should be prepared 1 day in advance to ensure they are tracking and that the vacuum seal on the housing holds. Once turned on, the SPOTs should have direct access to the sky (not stored under metal or other material that may block satellite transmission).
There are two videos available: Spot Prep to Deploy 1 of 2.mp4; Spot Prep to Deploy 1 of 2.mp4 (Need to find a way to save these?)
Note: There are two videos available: Spot Prep to Deploy 1 of 2.mp4; Spot Prep to Deploy 1 of 2.mp4
Prepare SPOTs for Deployment
- The SPOTs should already be modified to accommodate the external lithium battery pack. If not, please see the “Spot Modification” guide
Note: (need to add Spot Modification Guide)
Open black SPOT canister & remove SPOTs. Plug SPOT devices into their battery connectors and turn on (push in button 1x until you see green light flash).
Put SPOT in place in black canister. The lid of the canister acts as an o-ring and should be clear of debris. Add a small amount of o-ring grease to the inside of the lid. Place lid on canister, and hand-tighten.
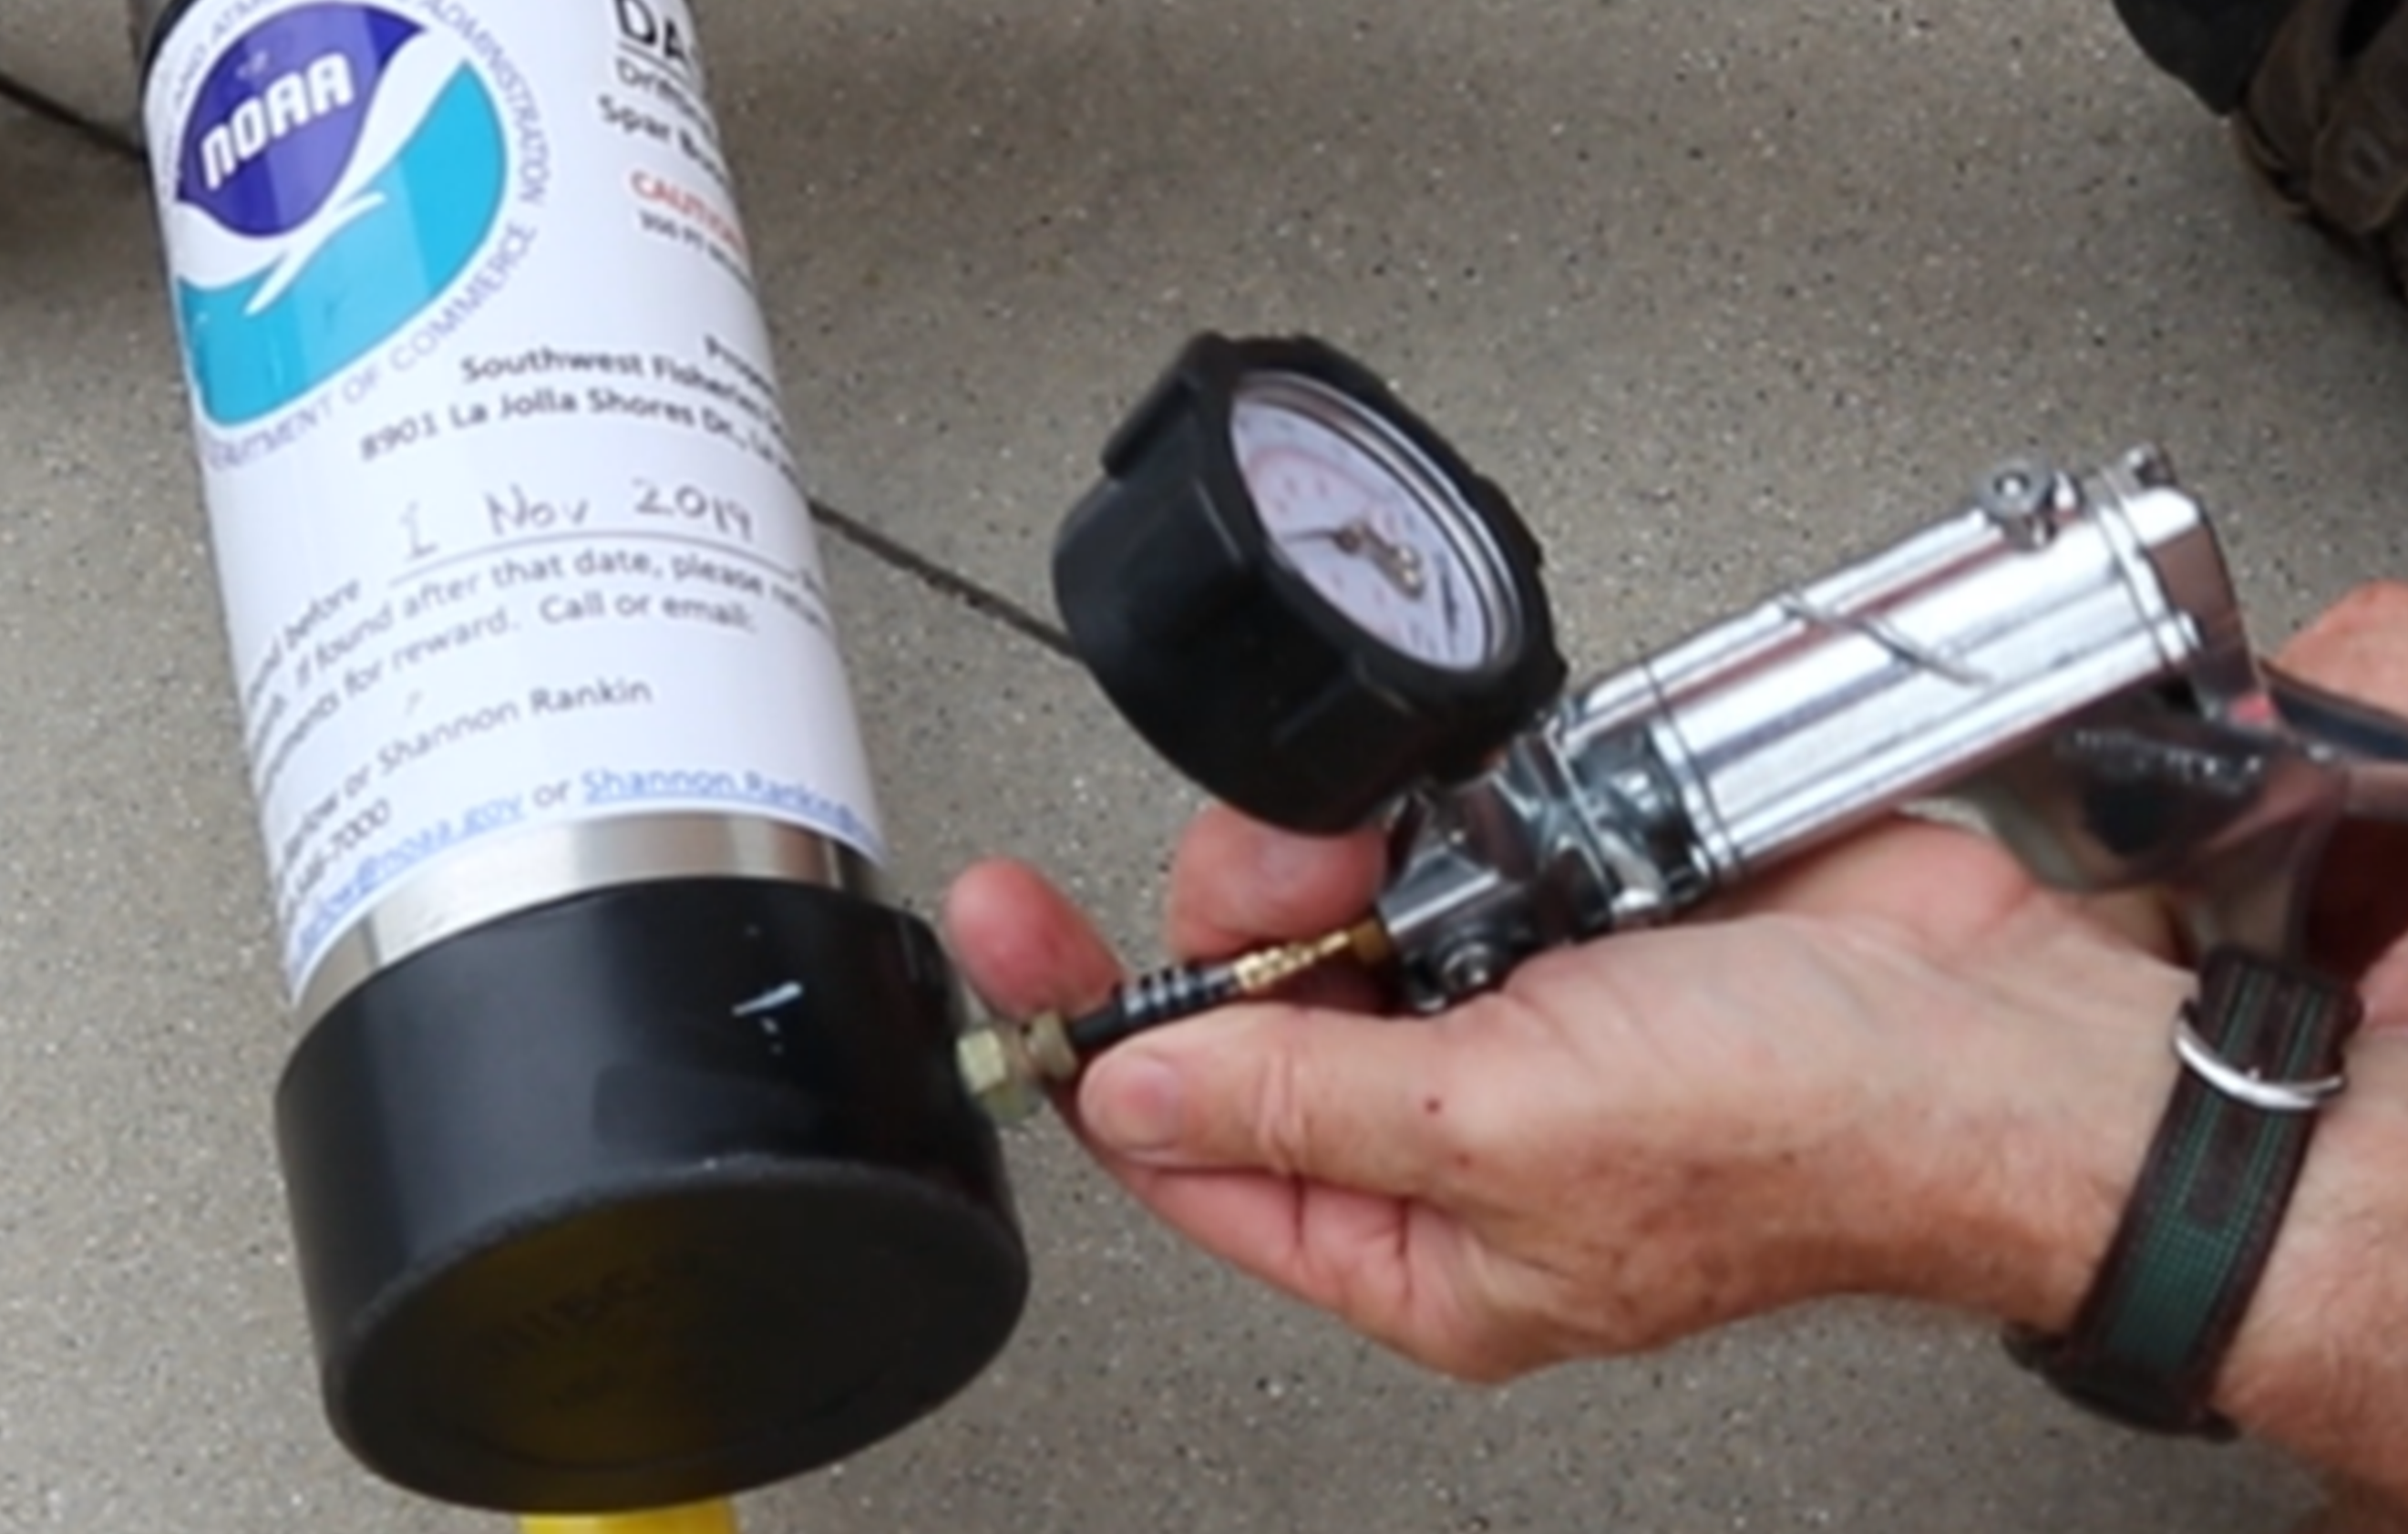
Open vacuum valve and use hand-vacuum pump to create ~5-10mm pressure. You will see the cap suck in with the pressure. Close the valve. This vacuum minimizes condensation. Prepare 1 day prior so you can ensure no leaks in vacuum seal. This can be tricky! Go fast with fingers of one hand holding the connector to the valve while pumping fast—once >5mm pressure, use those fingers to close the valve.

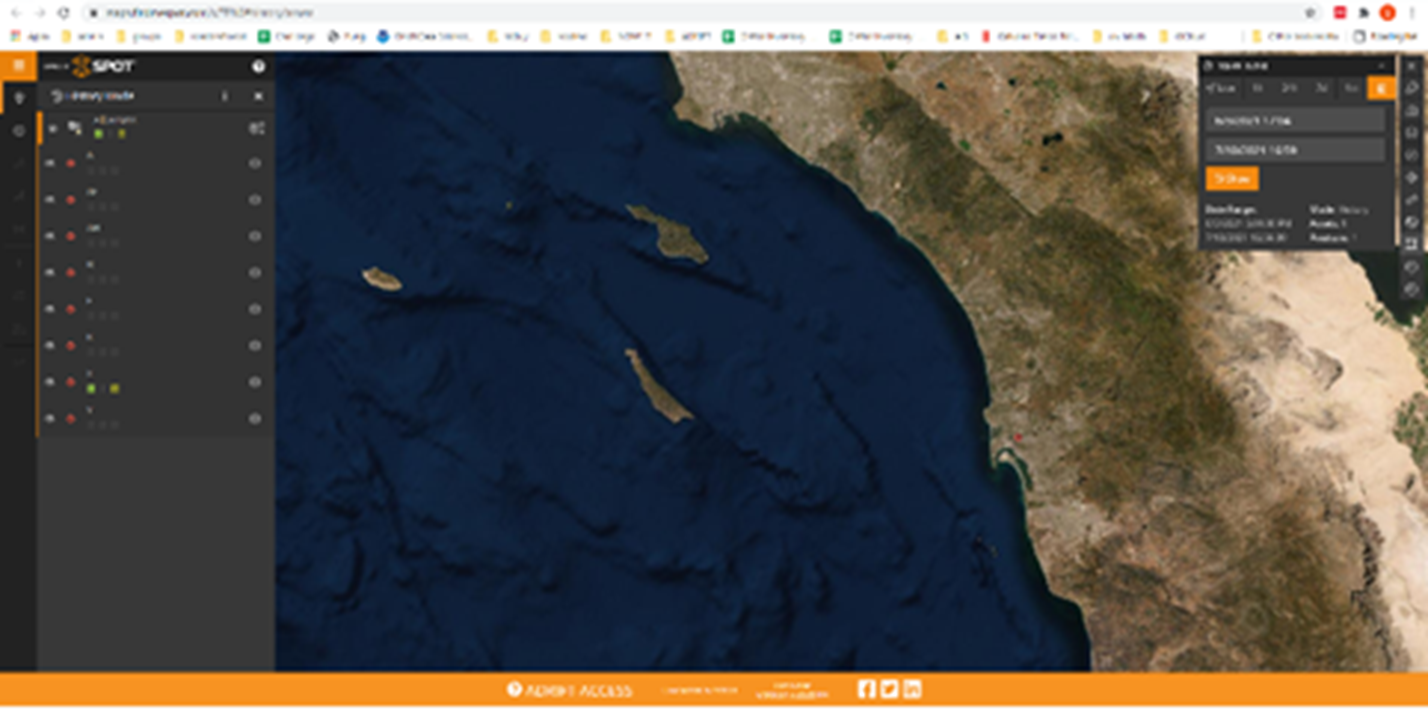
Check to make sure the SPOT geolocation devices are transmitting at least one day prior to deployment. Place SPOT devices on deck w/ clear view of sky. SPOT devices must be moving to transmit.
Note: Need to add updated link in new google drive

Spar Buoy Sticker. Write the end-of-cruise date “e.g. September 2021” on label sticker.
Place the SPOT canister on the High Flyer. Canister rests in the aluminum H-Bar taped to the pole. Tighten the hose clamps to secure the canister onto the pole. If possible, store the pole/canister such that it can ‘see’ the sky.